

How to Implement Passwordless login with AWS Cognito in Drupal 10 [Part-1]
Security and user experience are crucial aspects of any online service. One way to enhance both is by implementing passwordless login, where users authenticate using a One-Time Password (OTP) instead of a traditional password every time a user wants to login. In this blog, we will explore how to achieve this using AWS Cognito, an identity and access management service provided by AWS. We will understand the limitation of AWS Cognito and why we need to use Lambda functions to implement the solution.
What is Passwordless Login?
Passwordless login eliminates the need for a traditional password and instead relies on a temporary OTP sent to the user's email or phone. This approach offers several advantages:
- Improved Security: Reduces the risk of password-related attacks (e.g., phishing, brute force).
- Better User Experience: No need for users to remember complex passwords.
- Simplified Onboarding: Users can log in quickly using their email or phone number.
Prerequisites
Before starting, ensure you have the following:
- An AWS account with access to AWS Cognito, Lambda, and SES (Simple Email Service).
- AWS CLI or AWS Management Console access.
- Basic knowledge of JS (to understand Lambda functions).
- Basic of Custom Module development Drupal10.
Overview of the Solution
AWS Cognitio provides OTP to authenticate a users email only when a new user is registered but there is no direct configuration to set it to send the OTP everytime a user wants to login instead of password. To implement Passwordless login with AWS Cognito & integrate into Drupal, we will:
- Create a User Pool in AWS Cognito.
- Set up custom authentication triggers using AWS Lambda.
- Use AWS SES to send OTPs via email.
- Integrate API Endpoints in Drupal for Authentication in a custom login form.
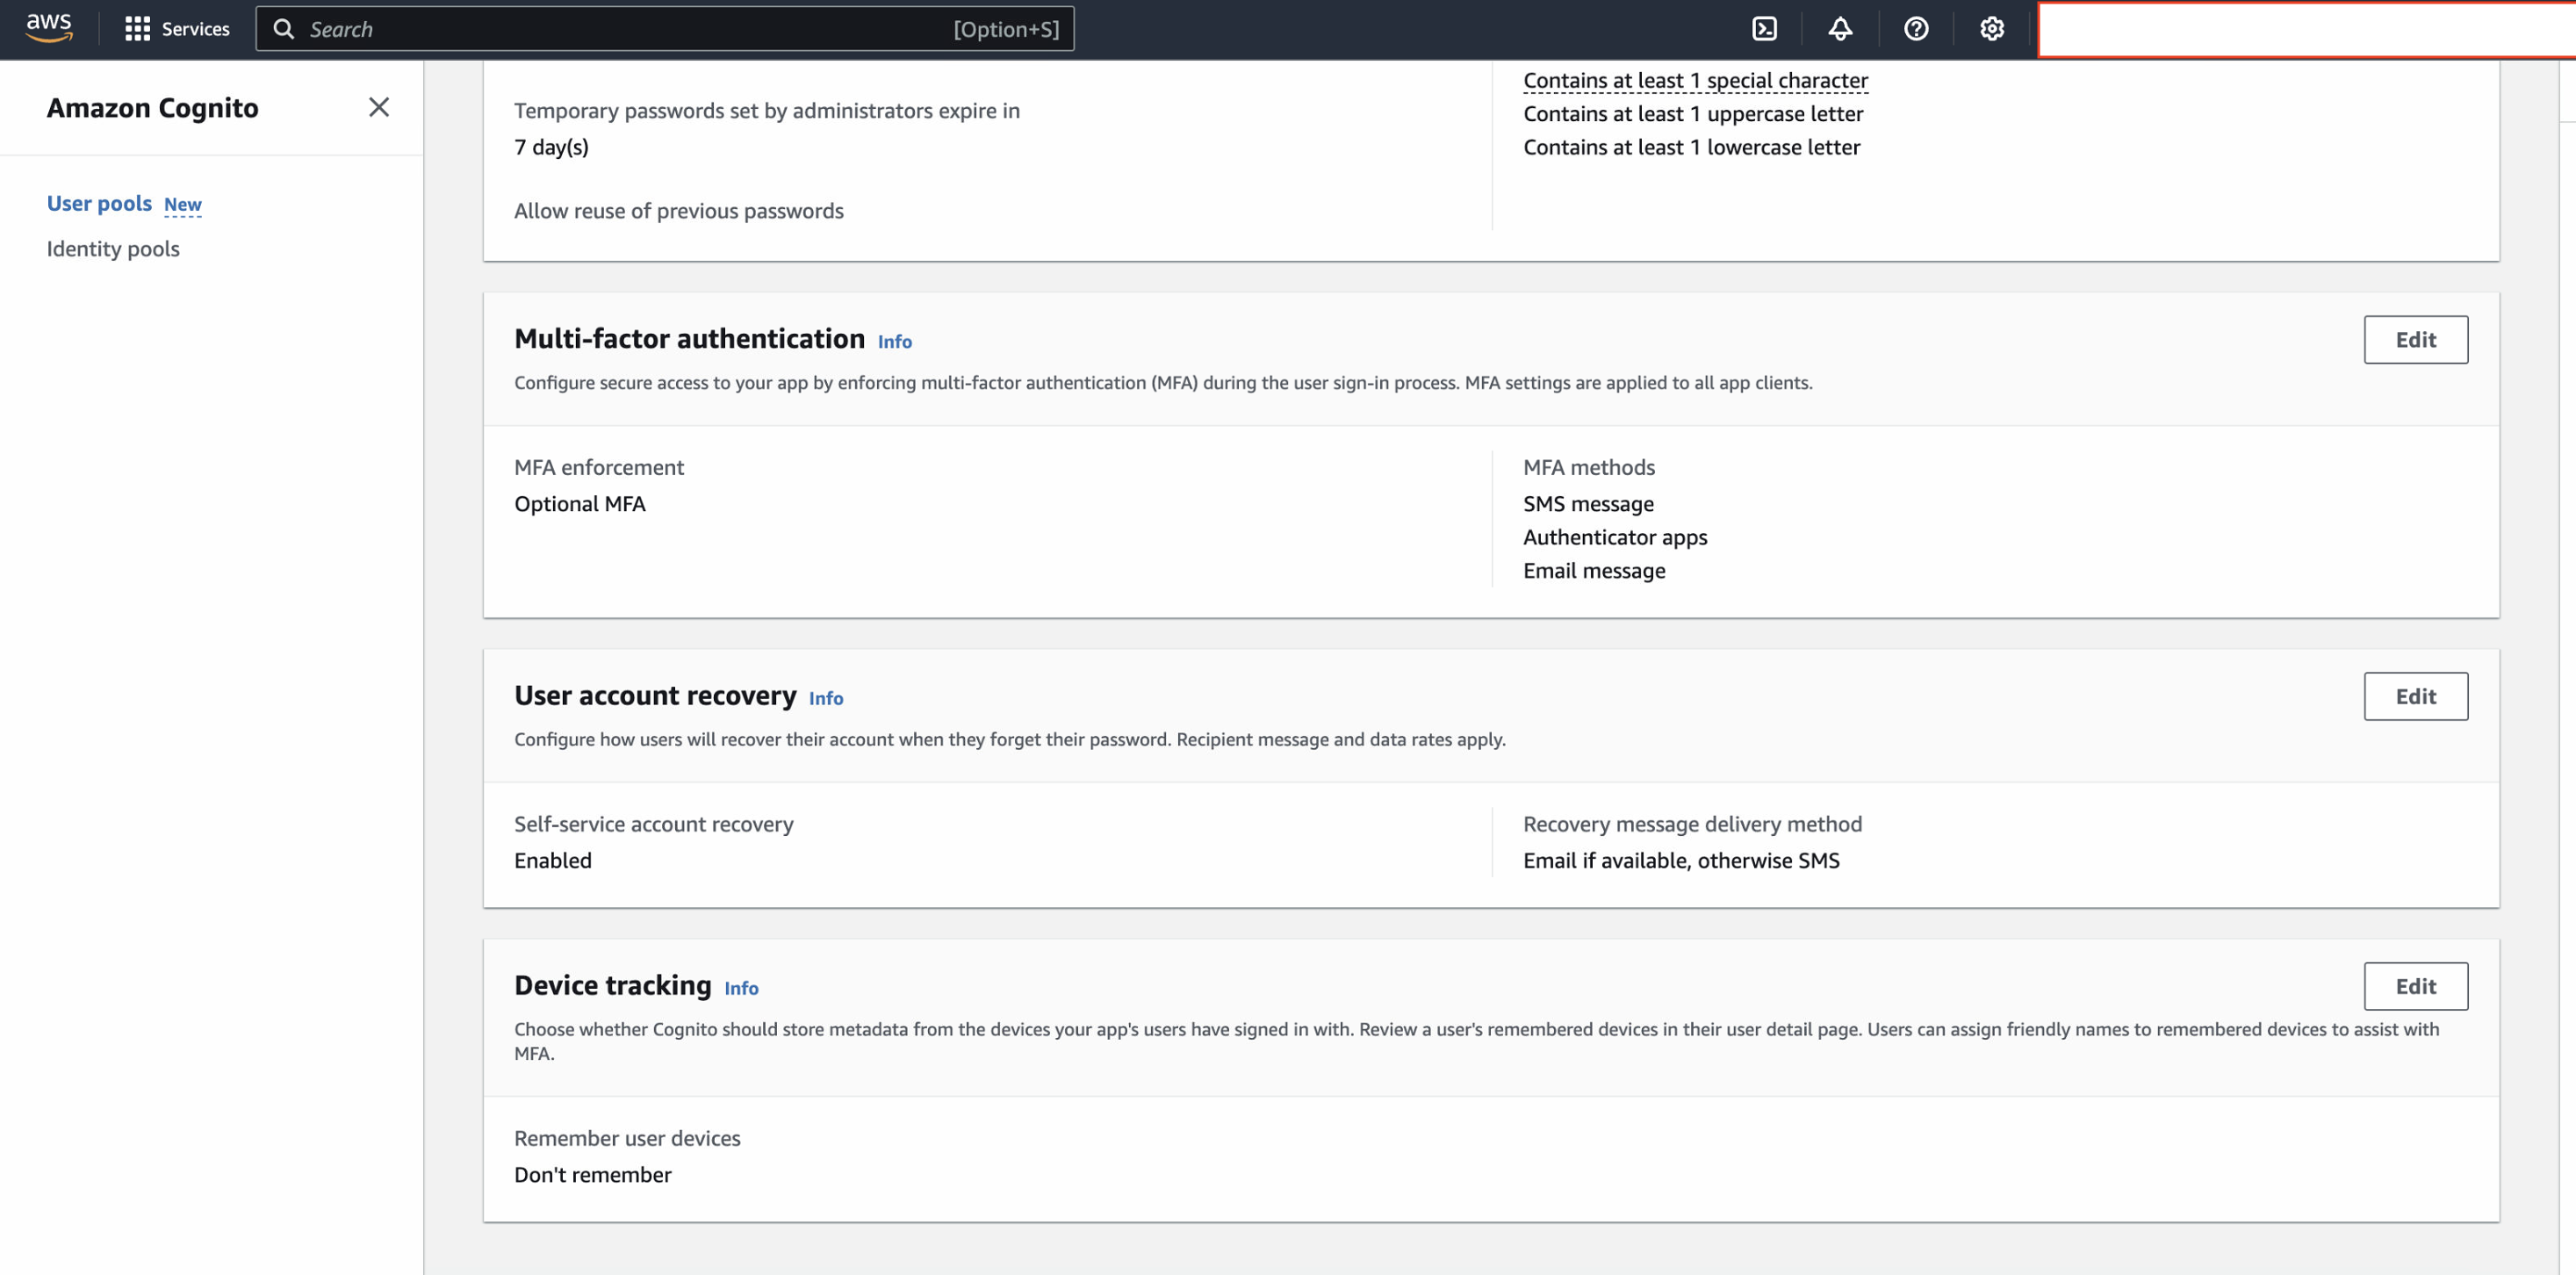
Step 1: Create an AWS Cognito User Pool
- Open the AWS Cognito Console and click "Create a User Pool".
- Configure the user pool settings:
- Enable email as the sign-in method.
- Disable password-based sign-in by unchecking "Enable password-based sign-in".
- Under Authentication Flow, enable Custom Authentication Flow.
- Click Create Pool and note the User Pool ID and Client ID.

Step 2: Create Lambda Functions
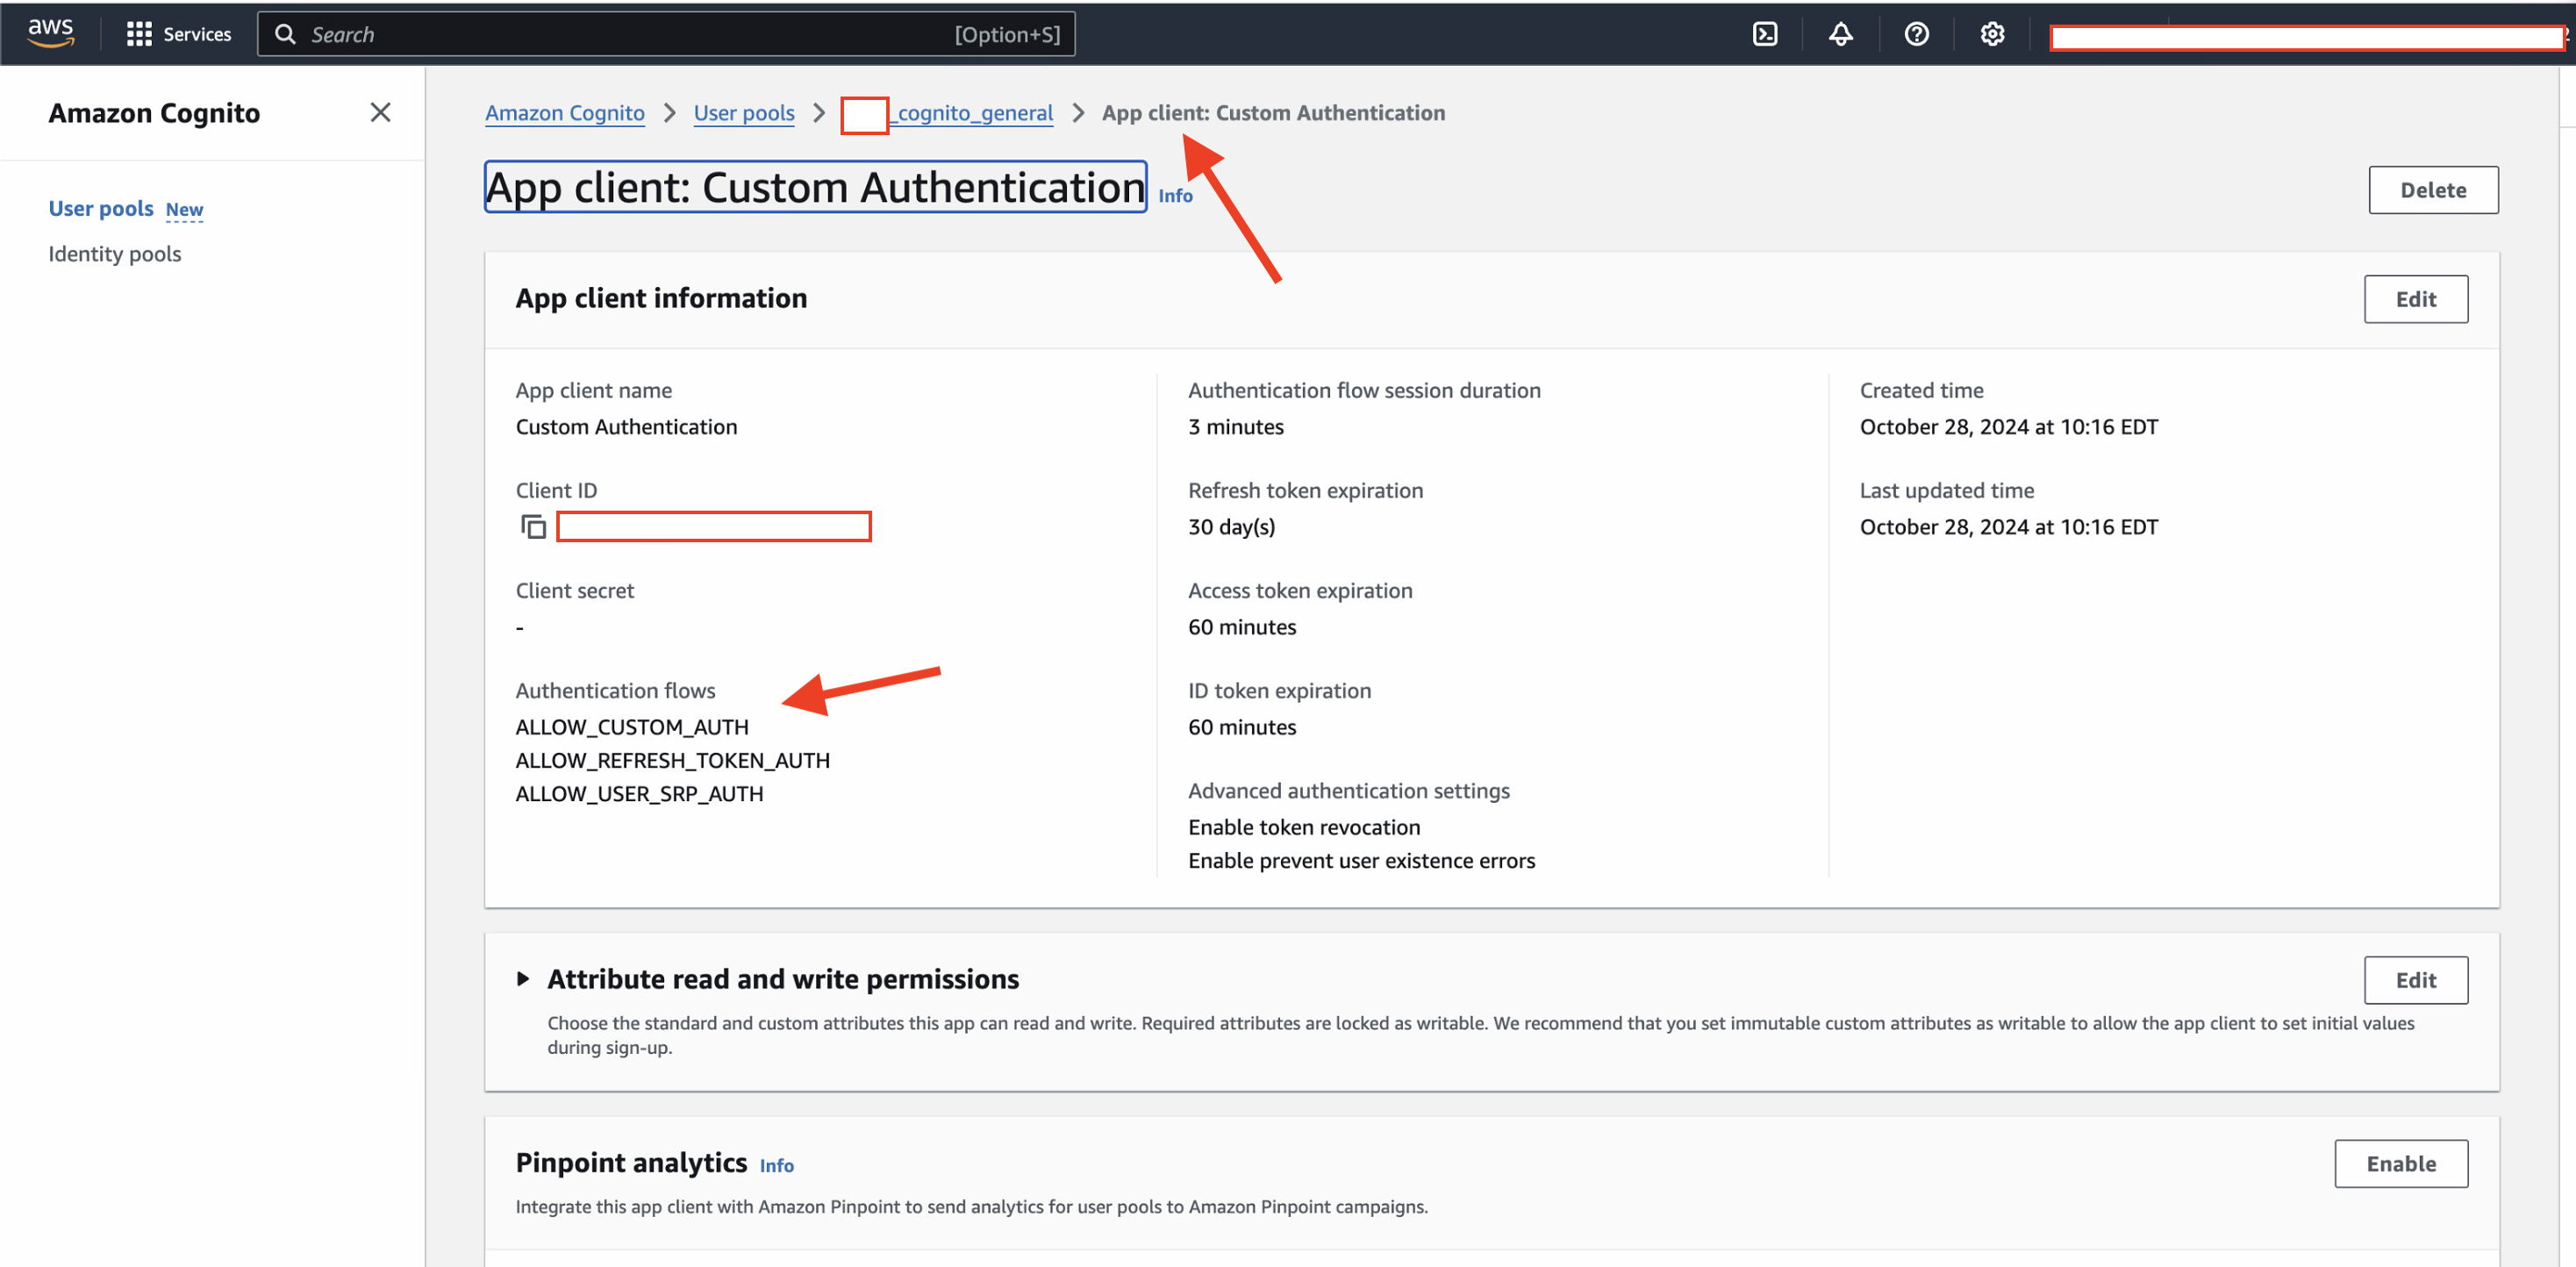
Create custom App from the Cognito User pool configuration page and add the following configuration for the new app client to use custom authentication flow :
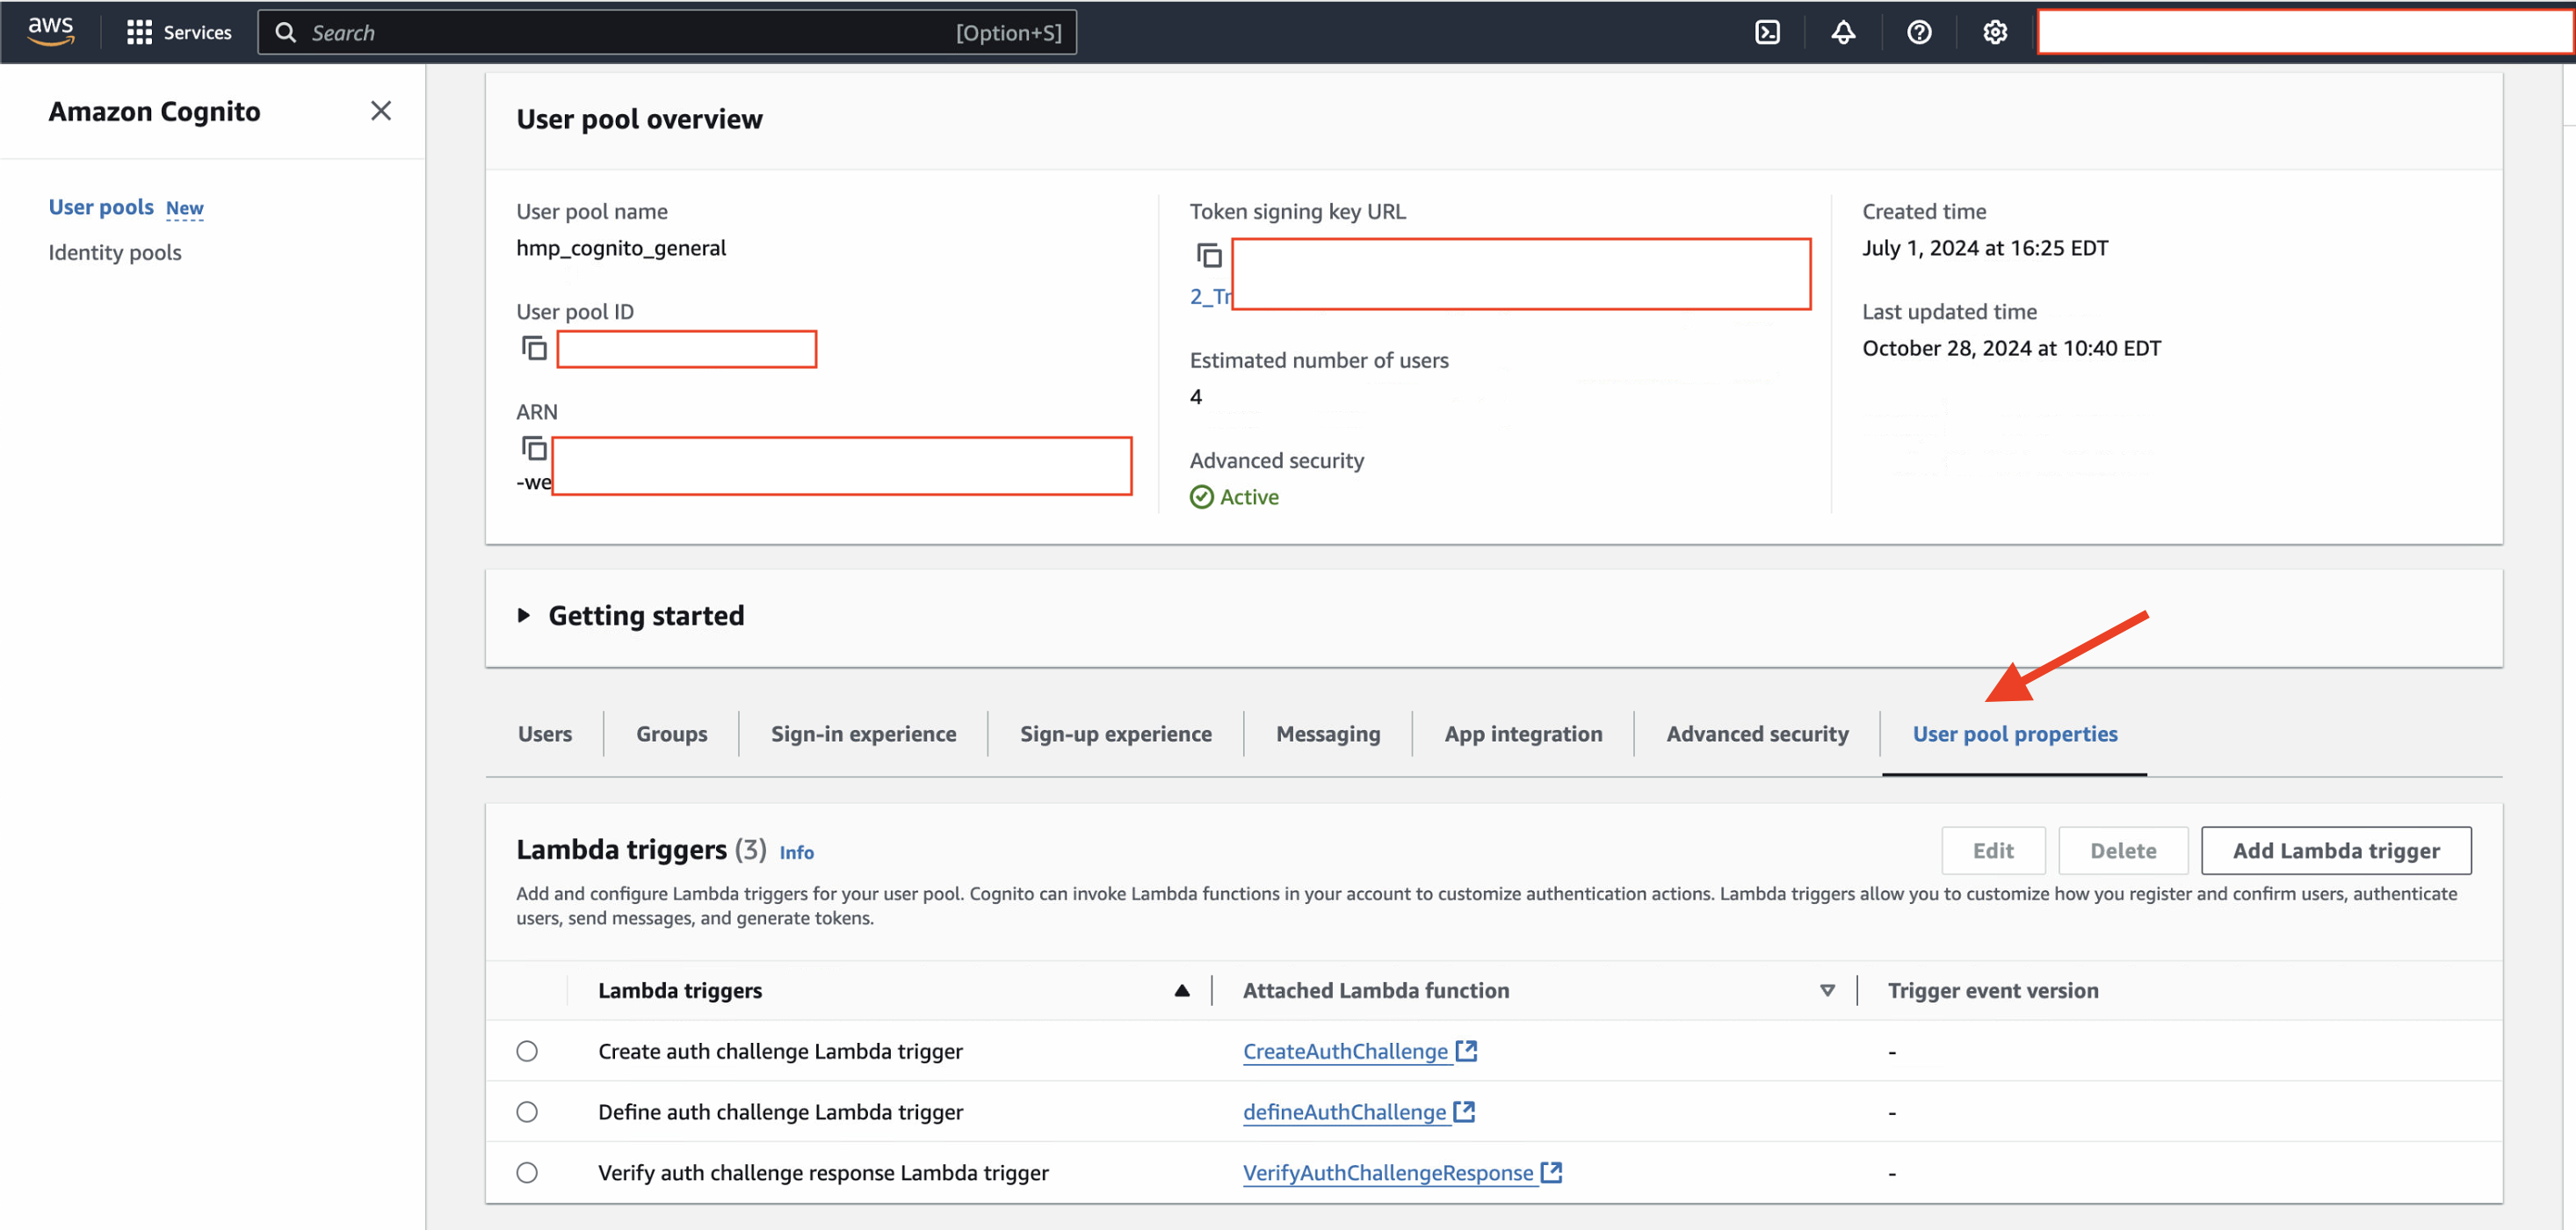
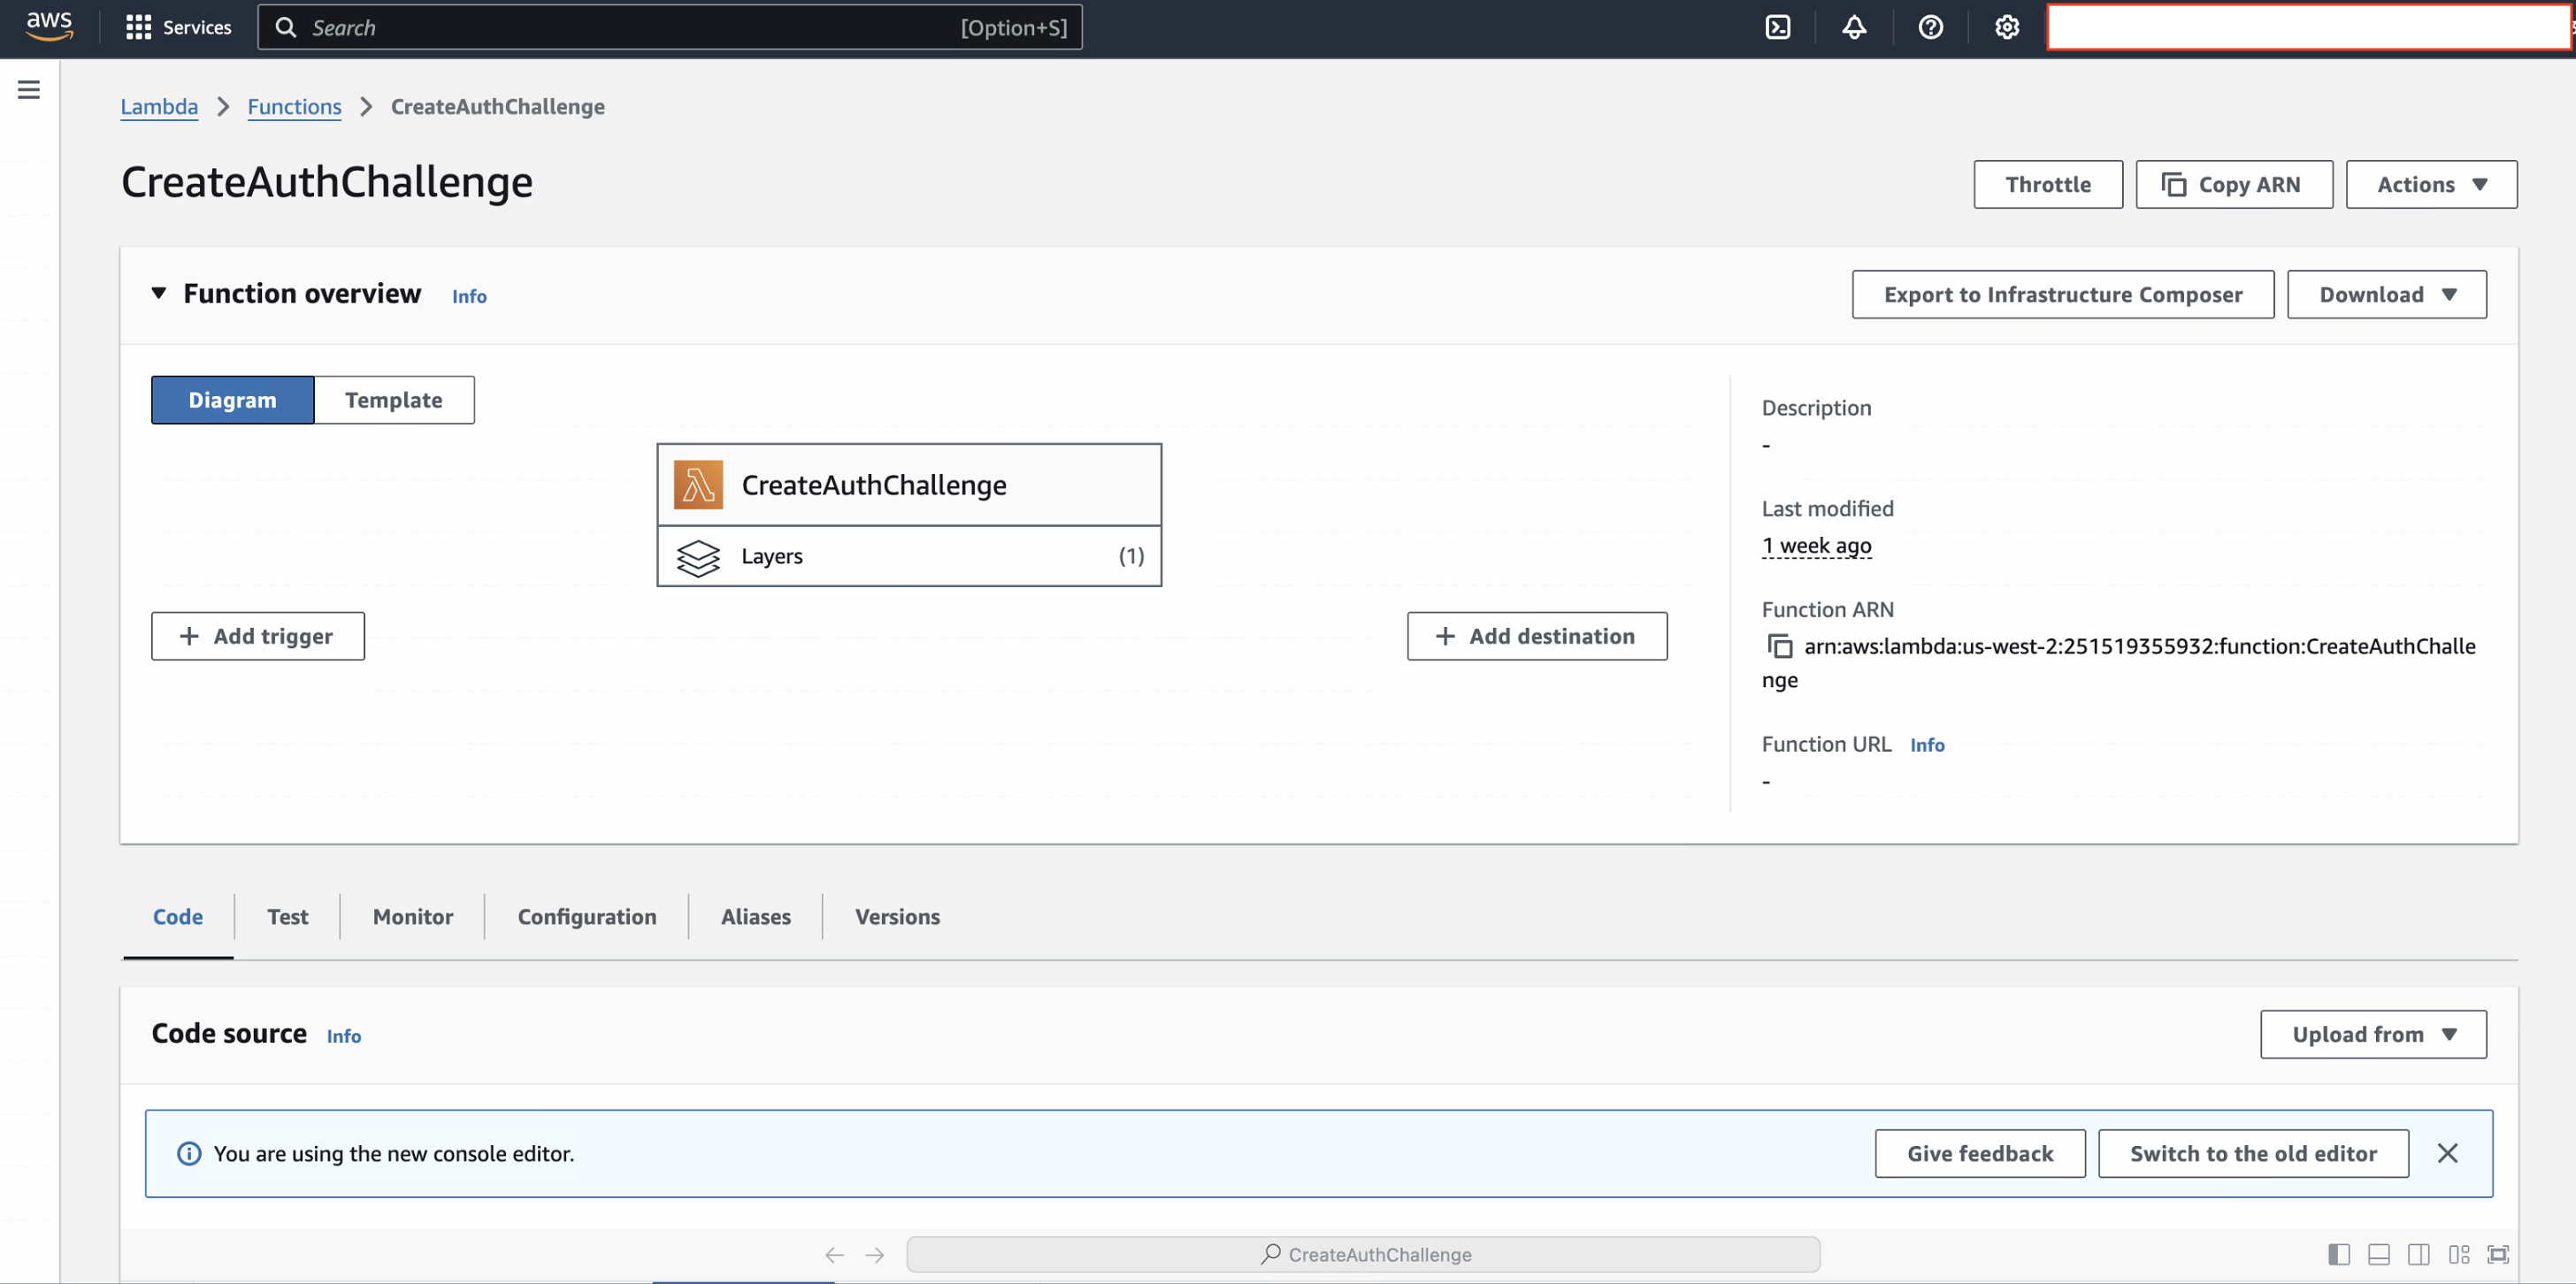
We will create three Lambda functions:
- DefineAuthChallenge: Determines the authentication flow state.
- CreateAuthChallenge: Generates an OTP and sends it to the user's email.
- VerifyAuthChallengeResponse: Verifies the OTP entered by the user.
Lambda Function 1: DefineAuthChallenge
The DefineAuthChallenge function decides whether to issue tokens or continue the challenge.
index.mjs
import _ from 'lodash';
import constants from './constants.js';
const { MAX_ATTEMPTS } = constants;
export const handler = async (event) => {
// Ensure `event.response` exists
event.response = event.response || {};
// Safely access `session` in case `event.request` or `event.request.session` is undefined
const session = event?.request?.session || [];
const attempts = _.size(session);
const lastAttempt = _.last(session);
if (
session &&
session.find(attempt => attempt.challengeName !== 'CUSTOM_CHALLENGE')
) {
event.response.issueTokens = false;
event.response.failAuthentication = true;
} else if (attempts >= MAX_ATTEMPTS && lastAttempt?.challengeResult === false) {
event.response.issueTokens = false;
event.response.failAuthentication = true;
} else if (
attempts >= 1 &&
lastAttempt?.challengeName === 'CUSTOM_CHALLENGE' &&
lastAttempt.challengeResult === true
) {
event.response.issueTokens = true;
event.response.failAuthentication = false;
} else {
event.response.issueTokens = false;
event.response.failAuthentication = false;
event.response.challengeName = 'CUSTOM_CHALLENGE';
}
return event;
};
constants.js
// constants.js
module.exports = {
MAX_ATTEMPTS: 3,
// other exports
};
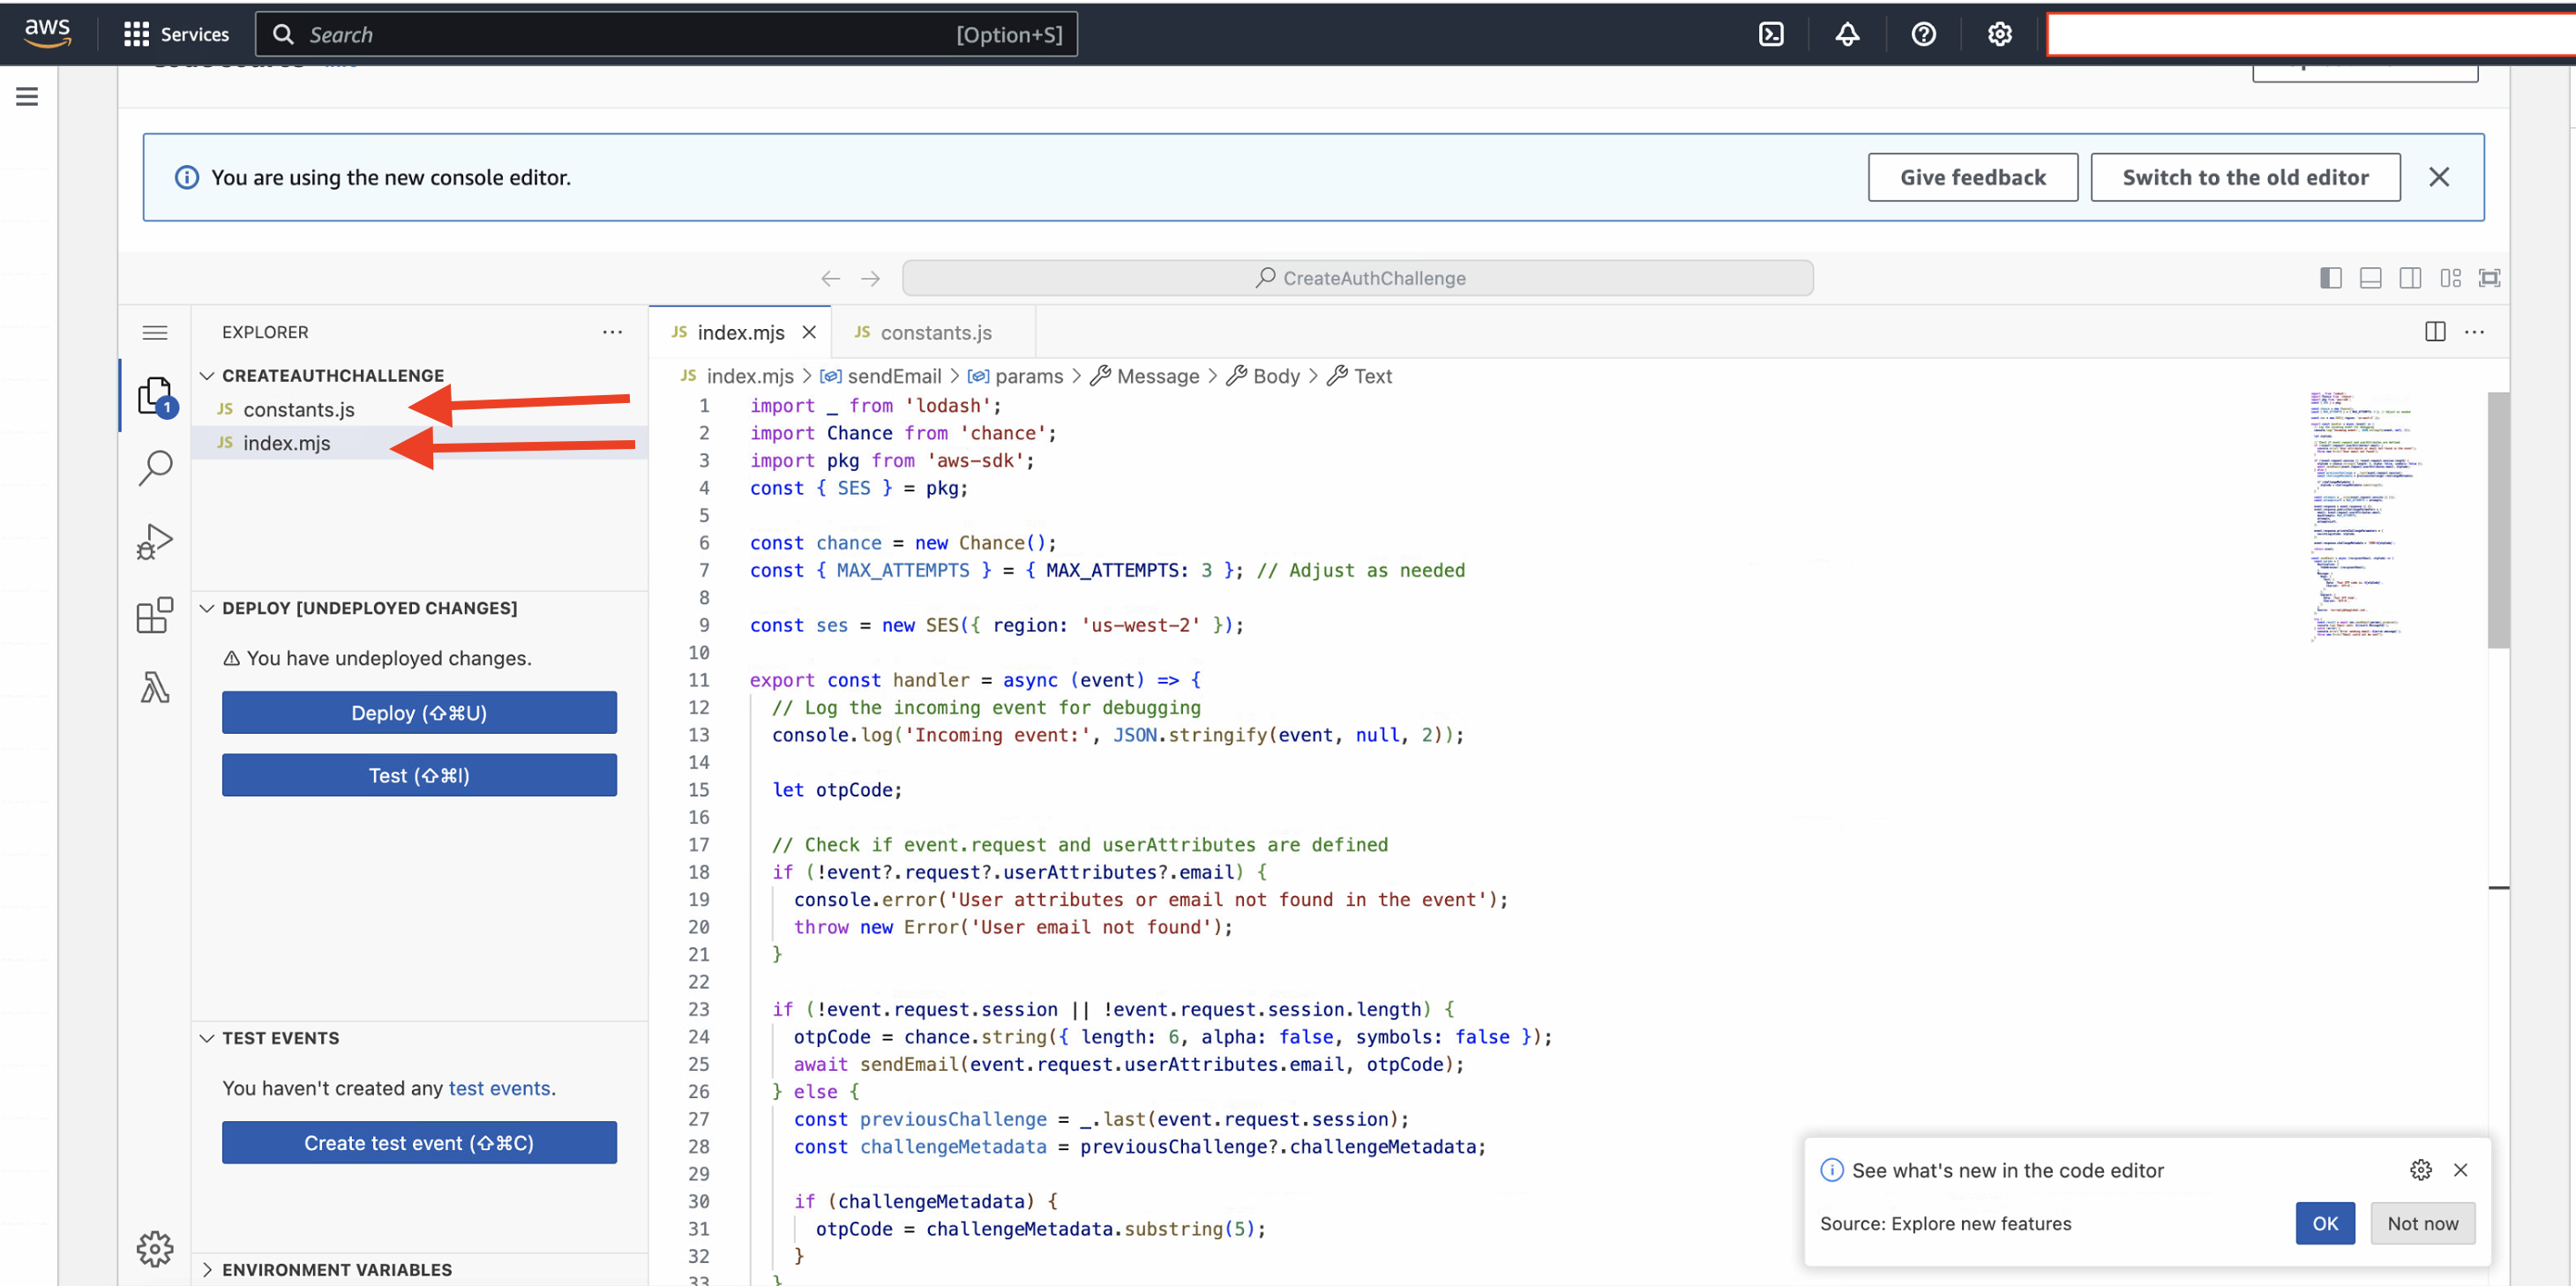
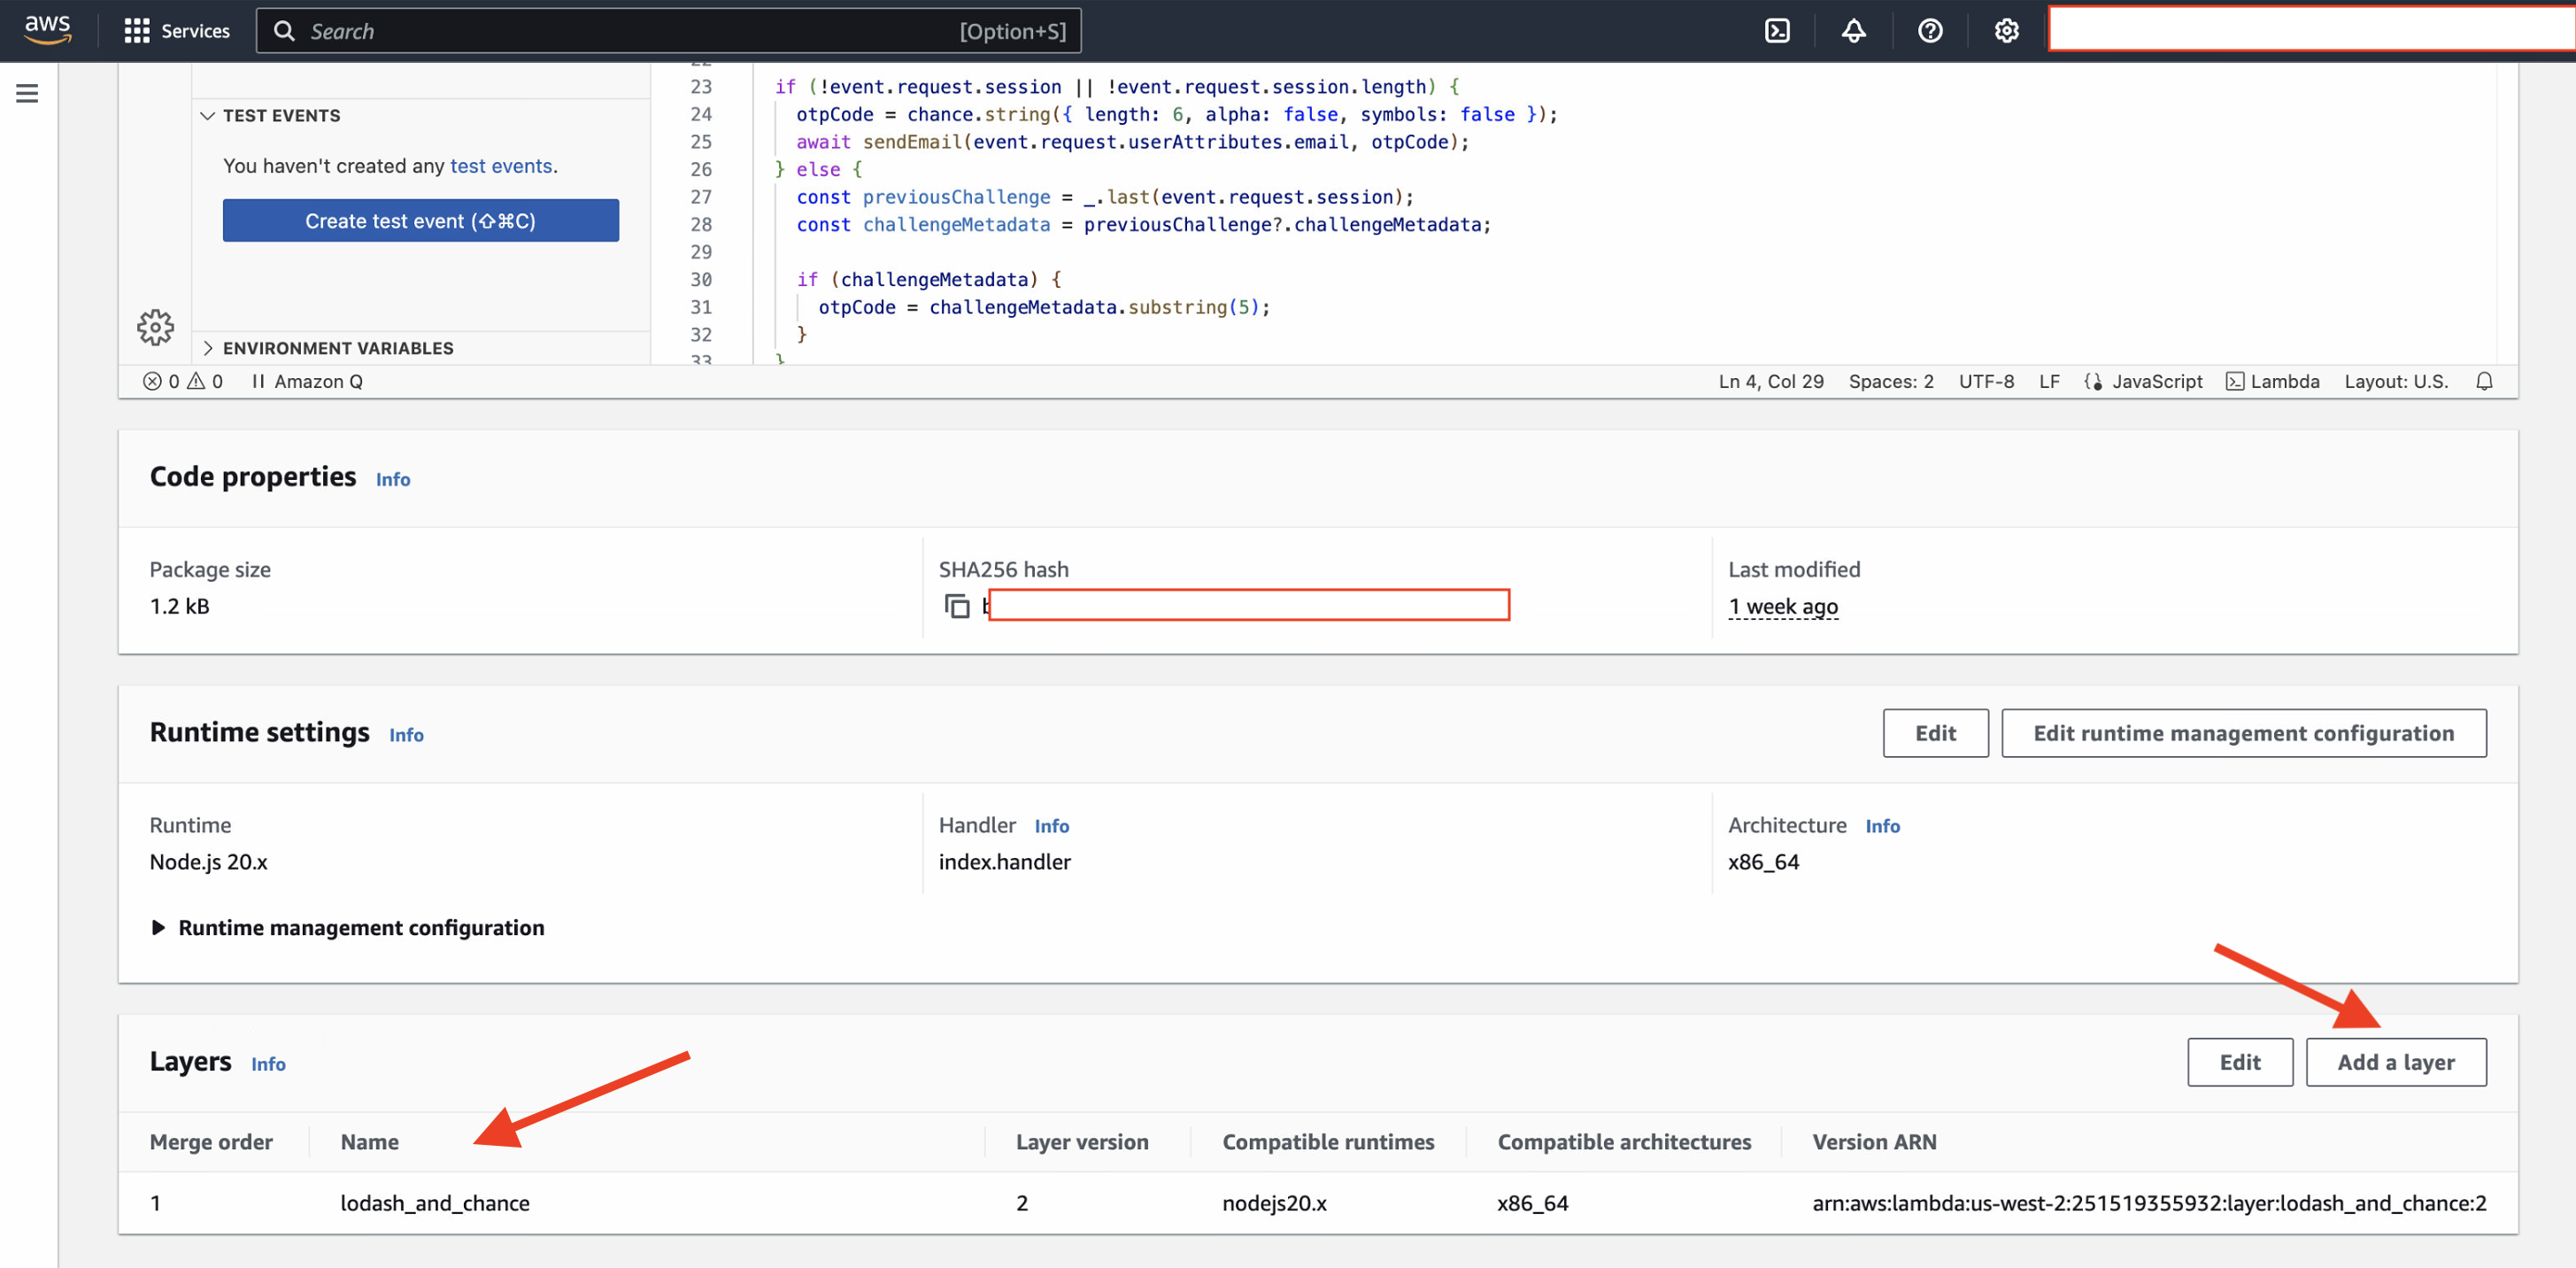
Now, since we are using lodash package it needs to be loaded into our Lambda function.
To create & load this package :
- Create a package.json in your local environment : {
"dependencies": {
"aws-sdk": "^2.1691.0",
"chance": "^1.1.12",
"lodash": "^4.17.21"
}
} - Now, load the node packages using : npm install
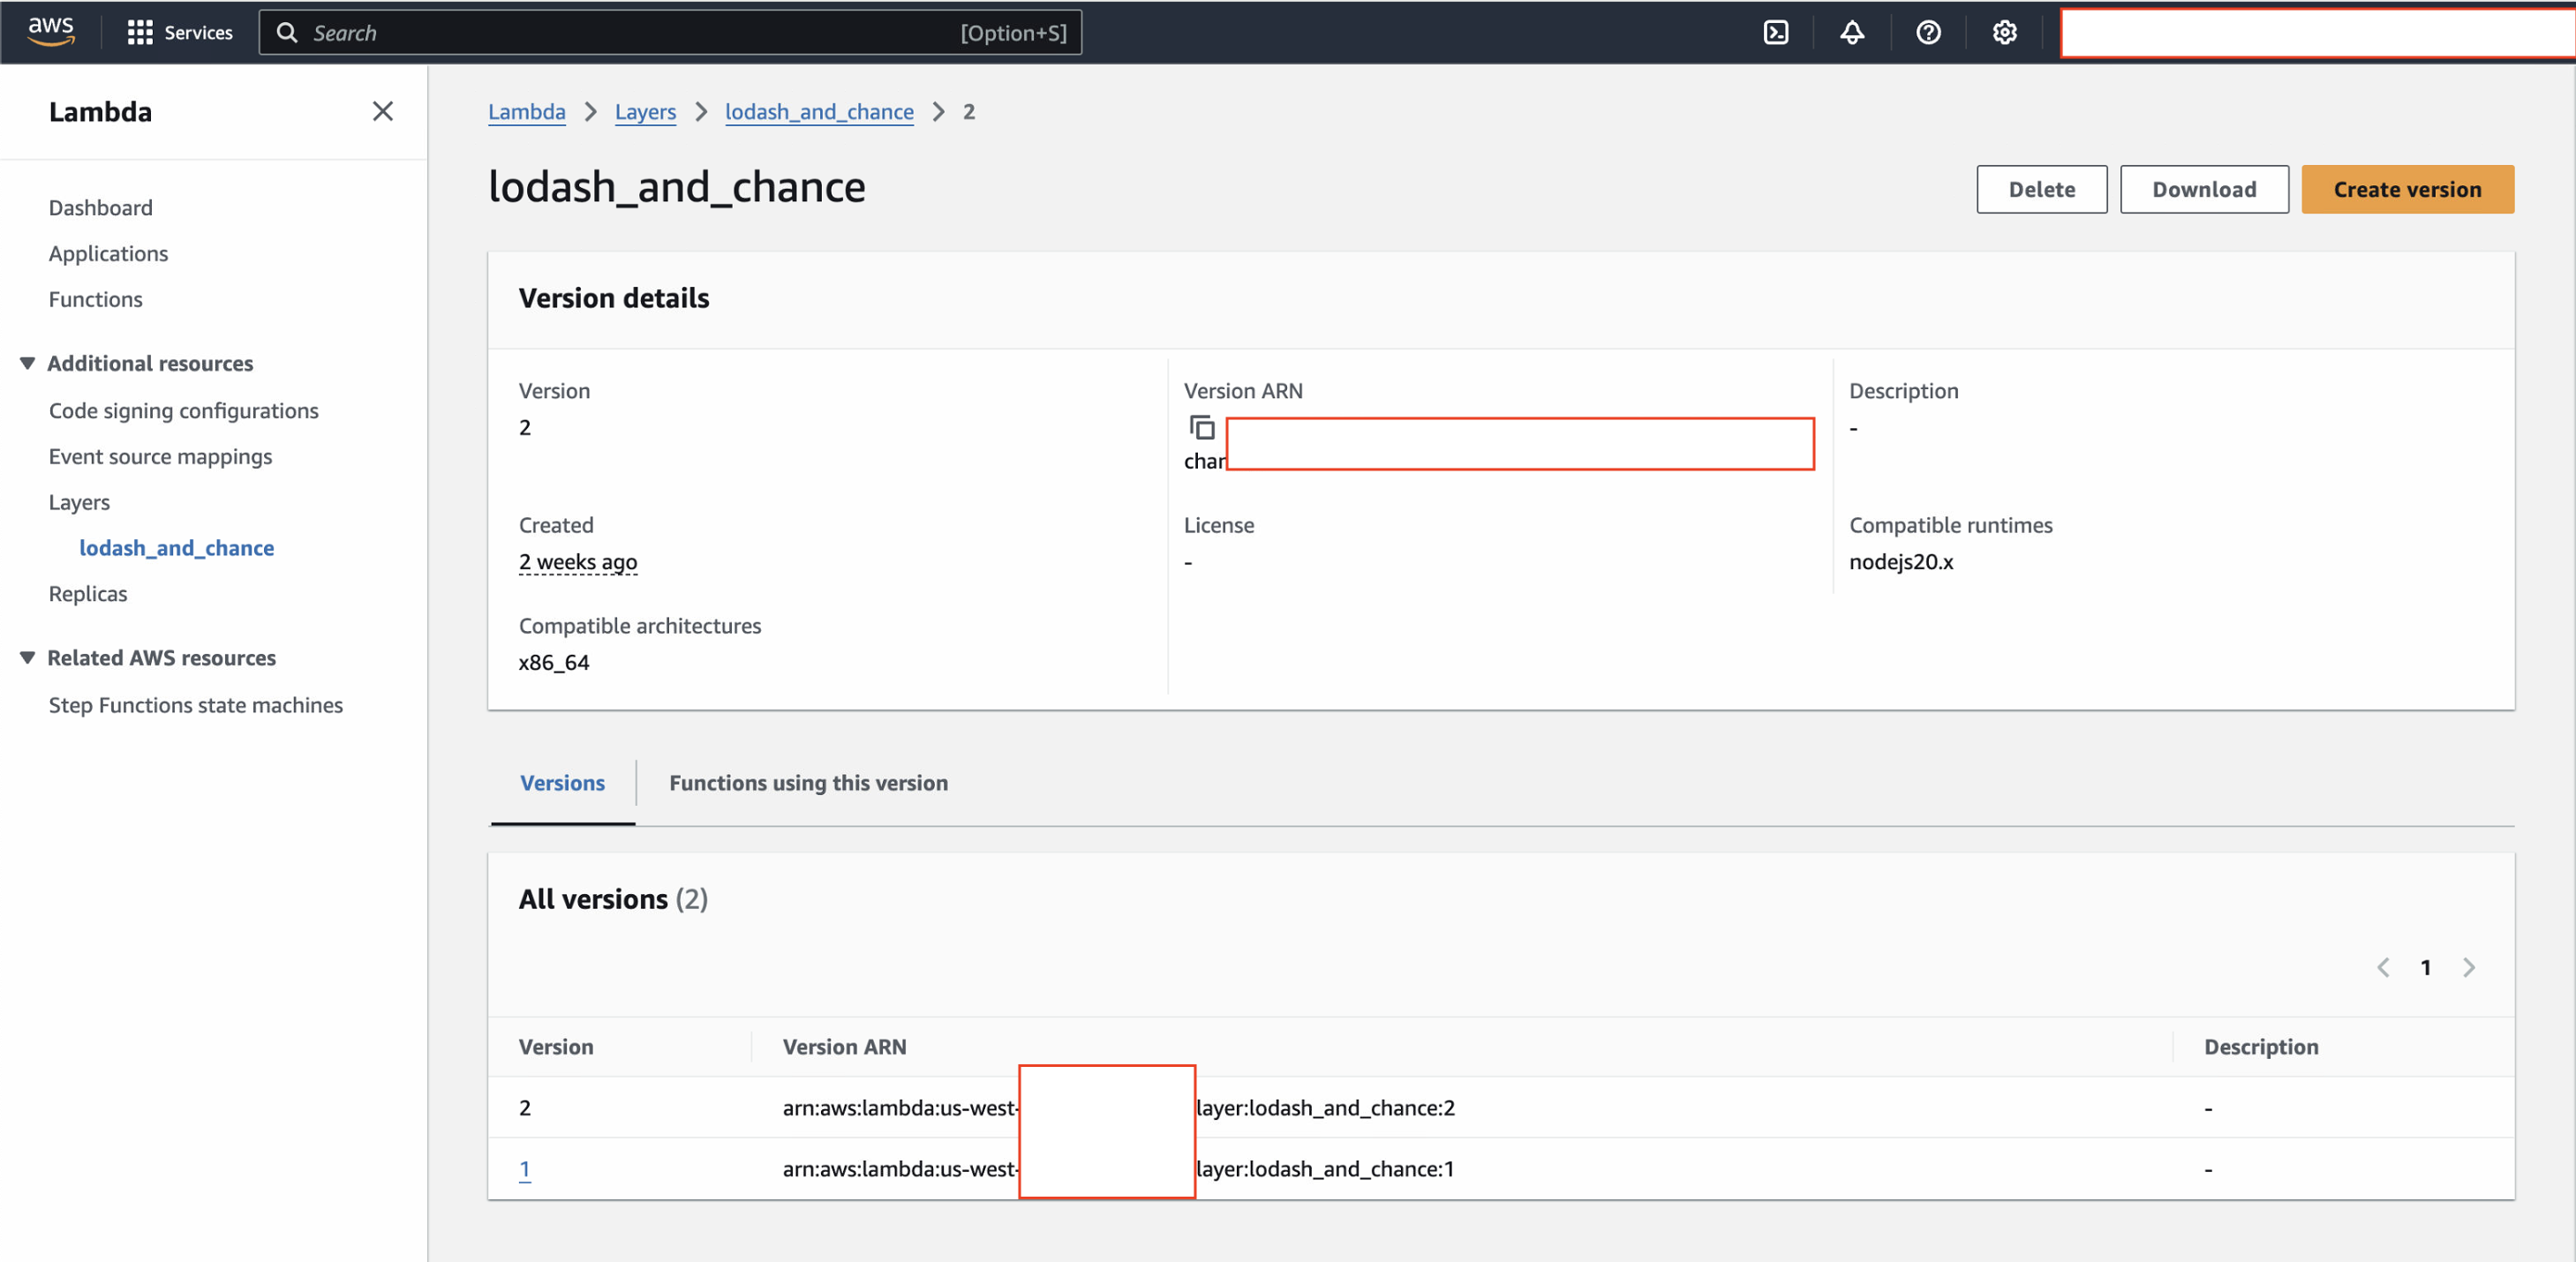
- Zip the node modules and upload this to lambda function layer.
NEXT STEPS :
Follow our next Blog here to continue on the implementation...